Sequential Popup
Usage example

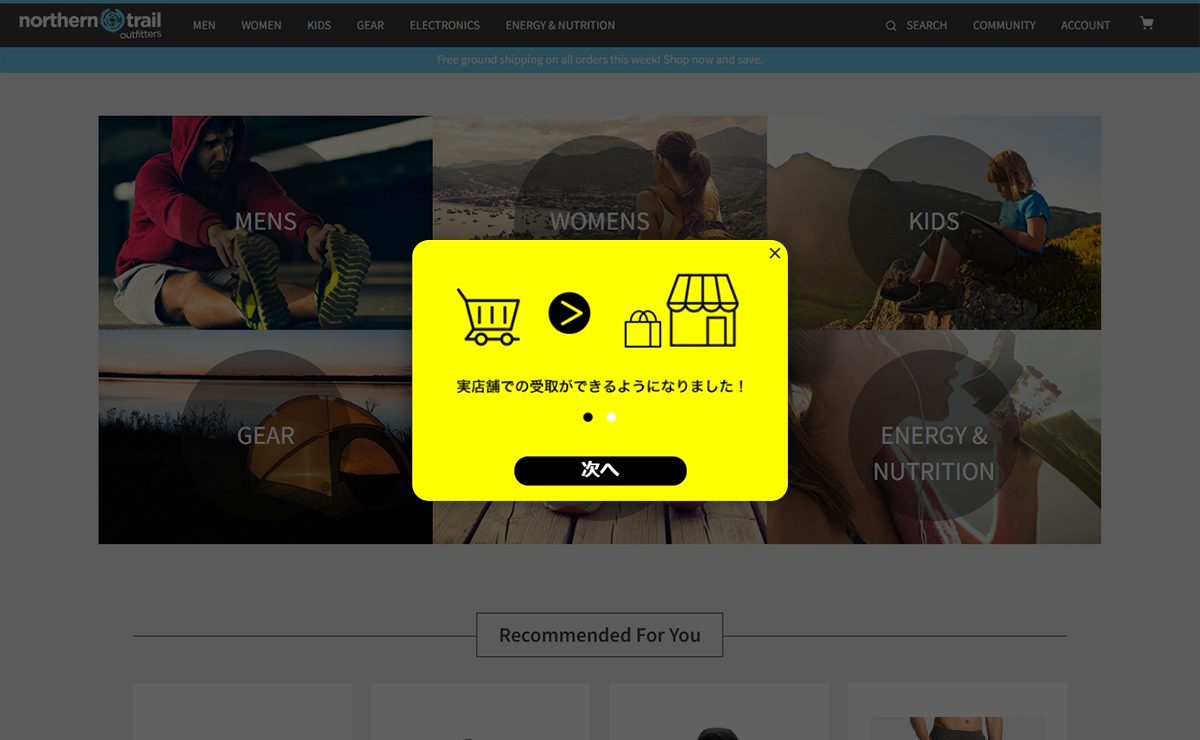
This is a usage example of the Sequential Popup template. You can easily recreate it by preparing an image and changing the setting items.
How to set
- Set up the Sequential Popup template in advance (/set-up/sequential-popup).
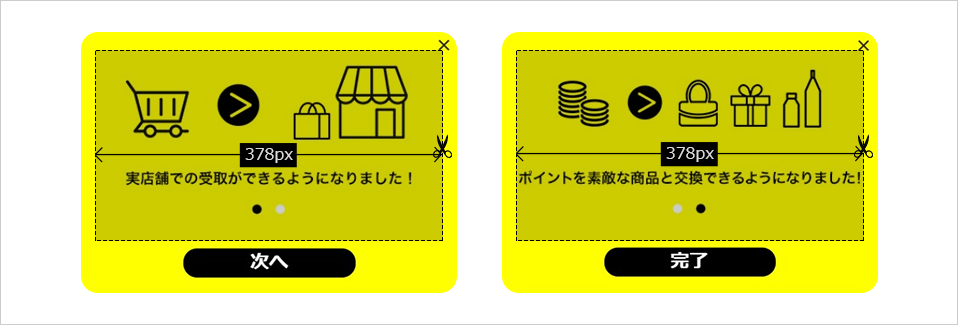
- Prepare an image to use. You can set the number of pop-ups up to 3 and prepare as many images as you want. This time, we will prepare two images. Crop the prepared image, considering the margin inside the popup and the margin between the content elements. With this setting, the image below will be trimmed when it blinks.

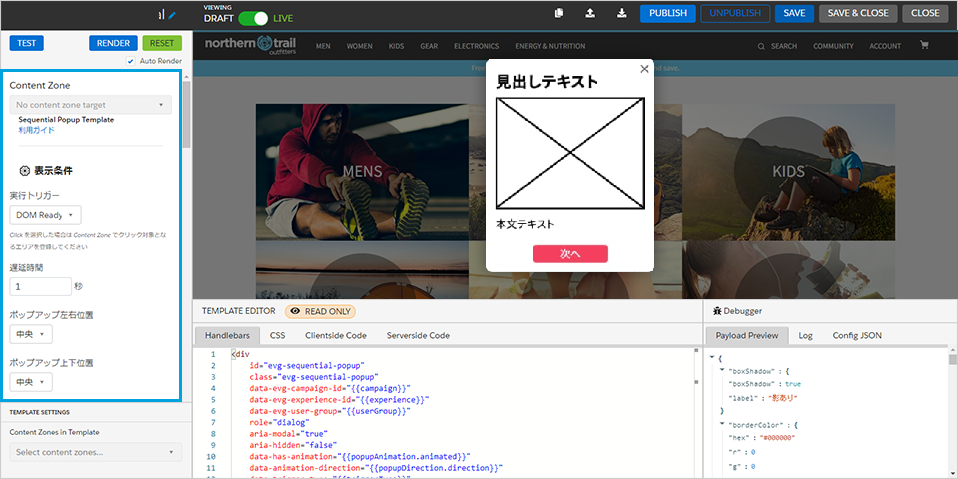
- Follow the steps in How to set up to open the campaign creation screen and change the setting items on the left side of the screen.

- Change the setting items (only changes from the template are listed).
Appearance/behavior
Width of popup: 488pxRounded corners of popup: 18pxBackground color of popup: #FFFF00X button color of popup: #000000popup shadow: no shadowmargin inside popup: 18pxmargin between content elements: 0px
Common for buttons
button font size: 22pxbutton Rounded corners: 16px
Forward button
Forward button border color: #000000Forward button background color: #000000
Done button
Done button border color: #000000Done Button Background Color: #000000Show Back Button: Unchecked
Content Text
1st Popup Heading Text: Blank1st Popup Body Text: Blank1st pop-up image URL: Enter the image URL2nd pop-up header text: Blank2nd pop-up body text: Blank2nd pop-up image URL: Enter the destination URL
Contents button
1st pop-up forward button: Set to bold2nd pop-up Done button: Set to bold
If you want to make fine adjustments, you need to adjust the source code at the bottom of the template creation screen.