Set Up
Installation
- Open Interaction Studio admin page in Marketing Cloud.
- On the left sidebar, navigate to
CHANNELS & CAMPAIGNS>Web>Web Templates. - Click
NEW TEMPLATE.
- First, open the template file in your prefered text editor. Then, select all and copy the content of the file.
ex. The image below ispop-up/pop-up-01-config.json.
You can download the set of the template files here.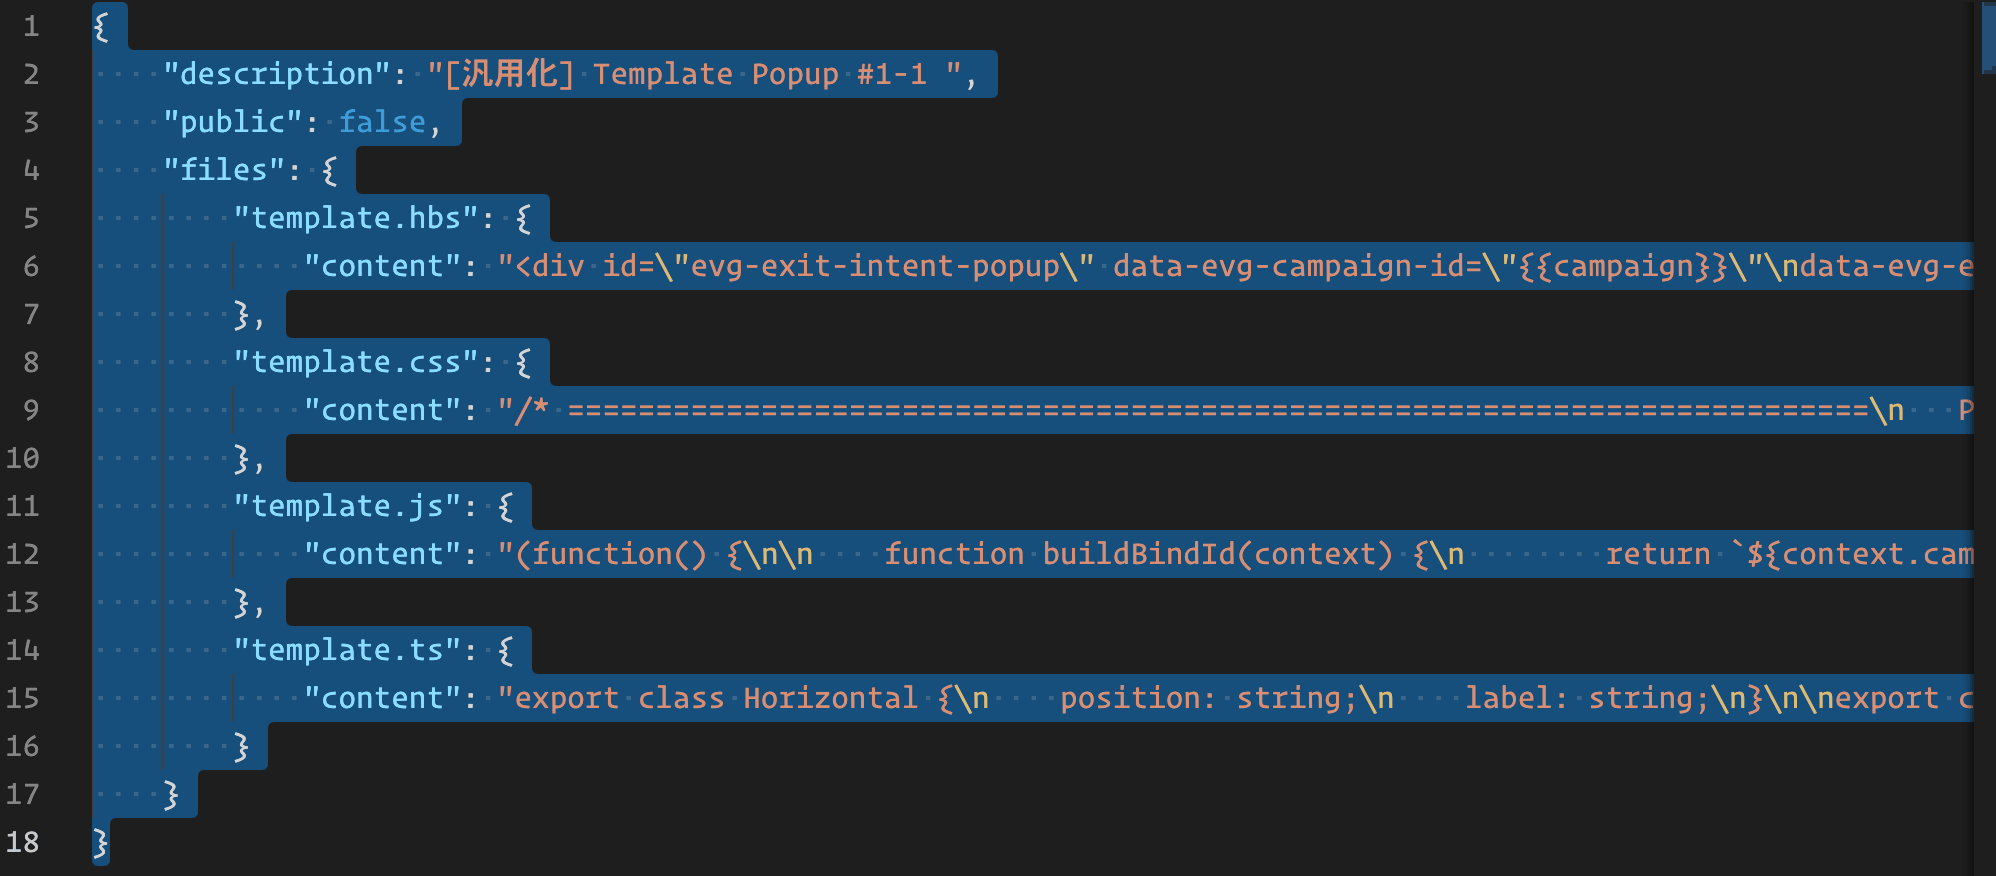
- Click
import template from clipboard.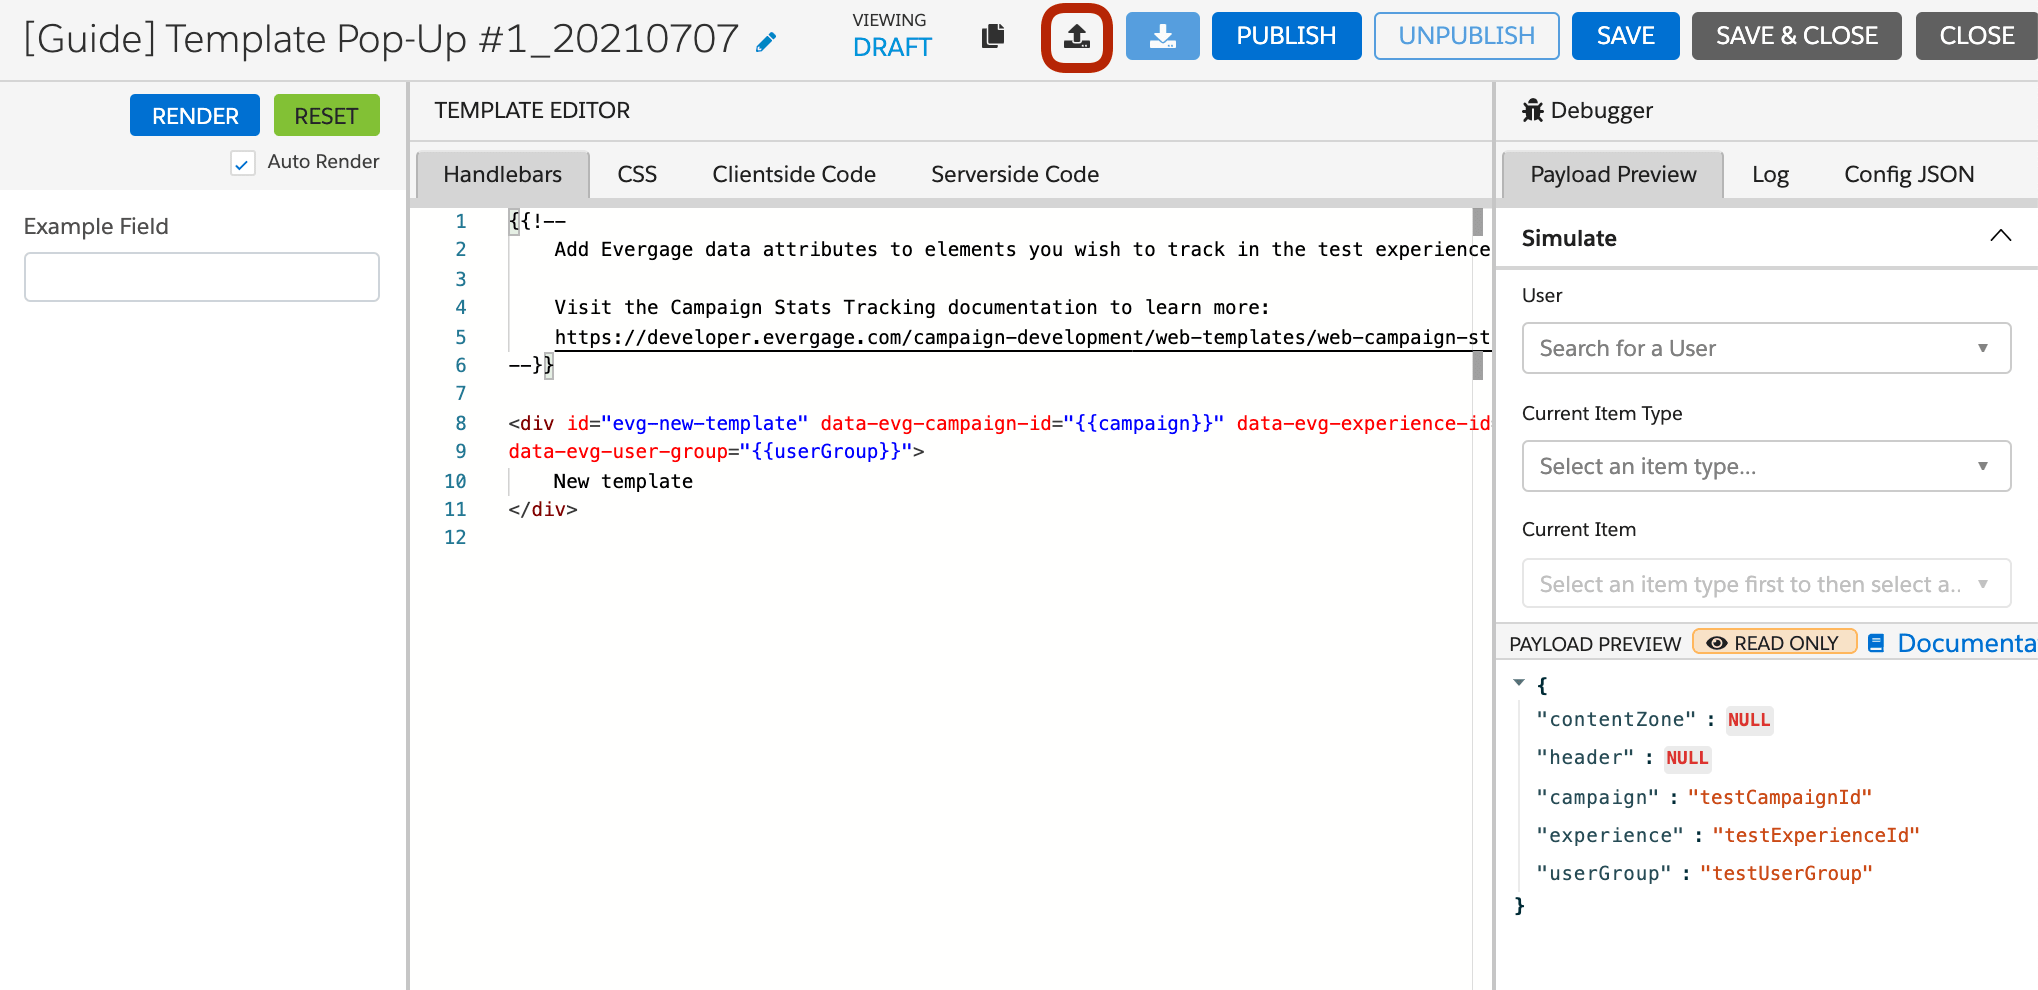
- Once template file is imported to Interaction Studio, confirm that the each source code appears on
Handlebars,CSS,Clientside Code,Serverside Code.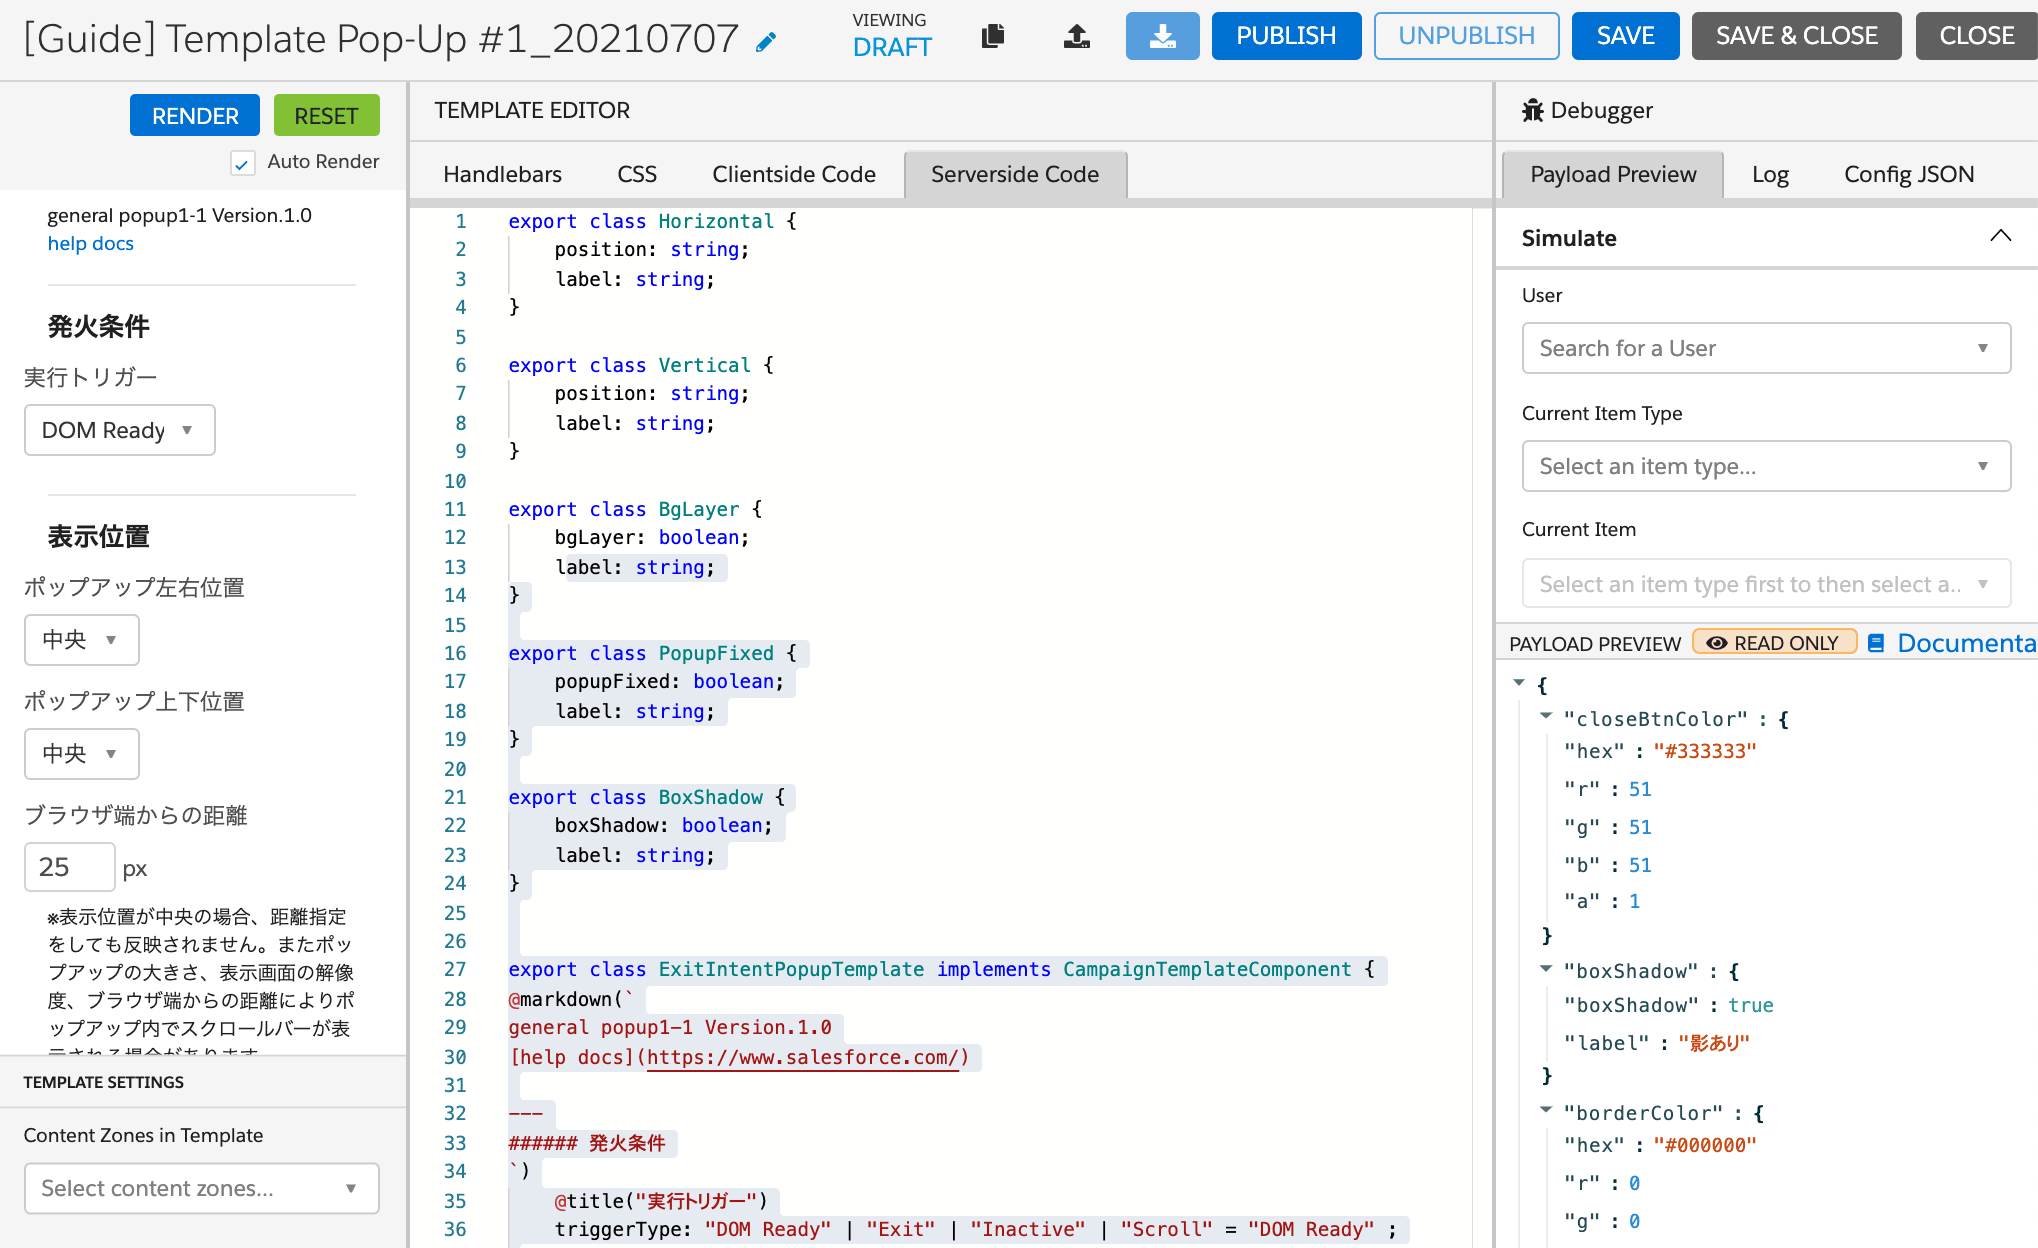
- Type the name of the newly created template in
New Templateon the left top of the page and clickSAVE. - After the popup message "Template Saved!" shows up, click
PUBLISH.
- Confirm the published message appears as the image below.

Checking on page
On Interaction Studio admin page, navigate to
CHANNELS & CAMPAIGNS>Web>Website Configuration.Copy the domain of the page which you need to test. Then, add it to
Allowed Domainsand clickSAVE.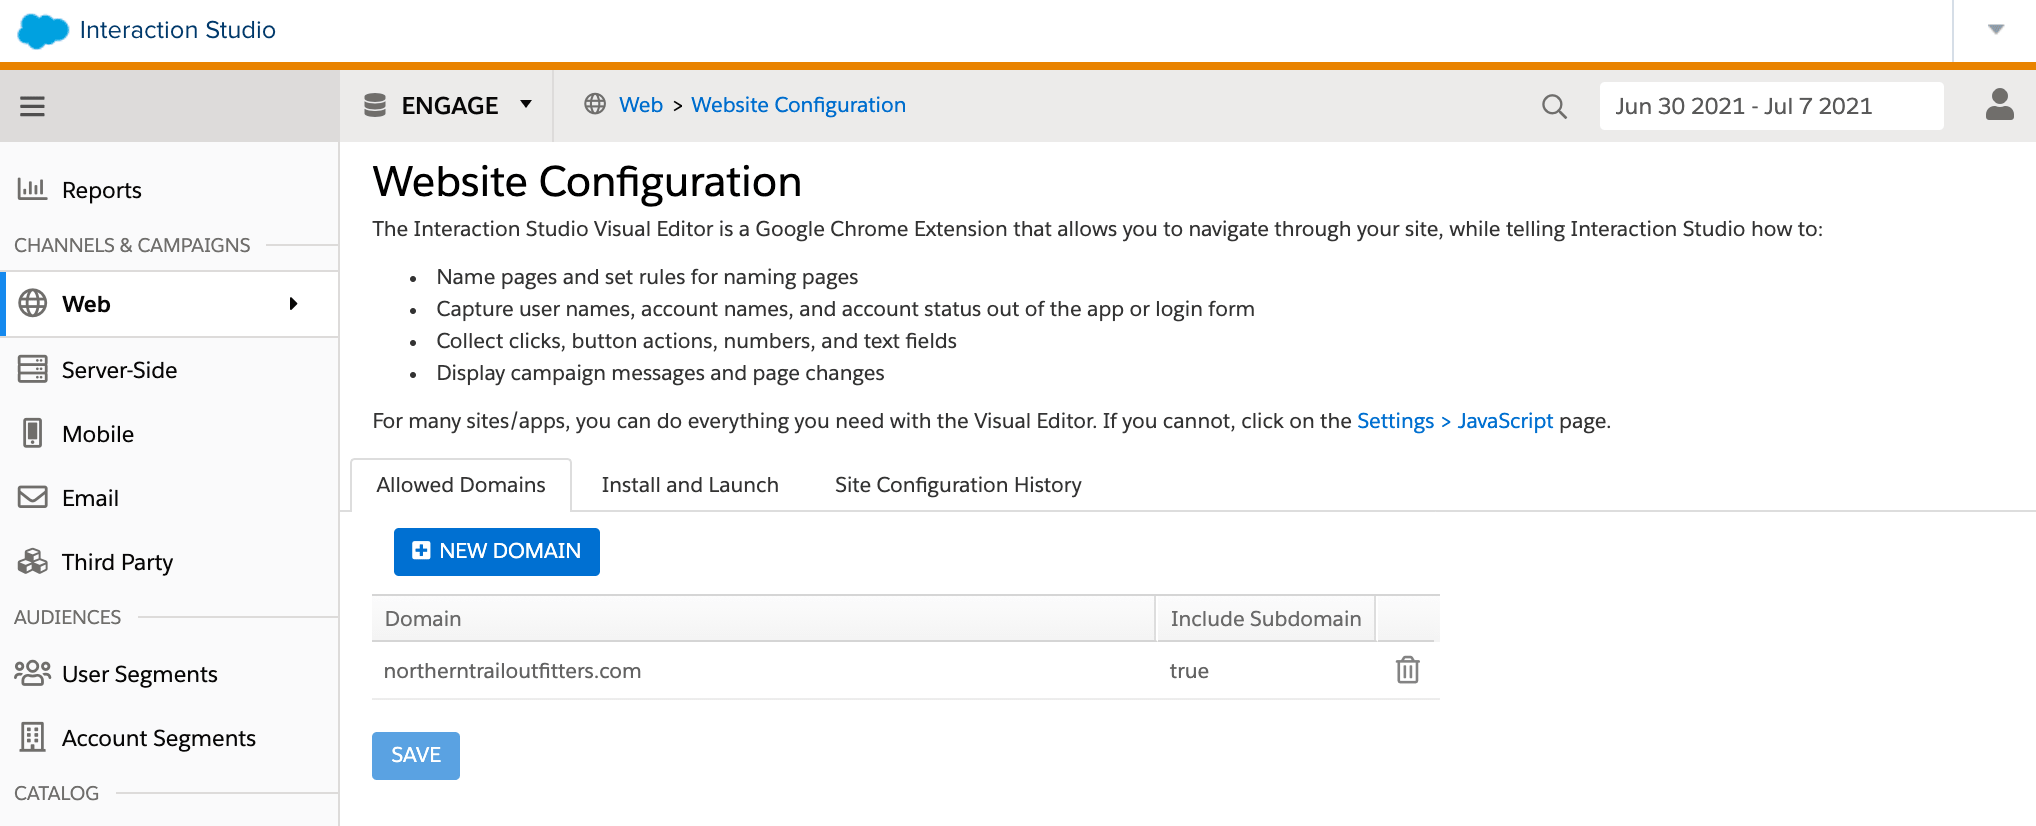
On Google Chrome, open the page to be tested.
Download and install Evergage Launcher on Chrome Web Store .
Open Evergage Launcher on Chrome. Fill Account/Dataset in the popup and add
SDK URLinFORCE SDK URL.You can get your Account/Dataset in the URL of the page used from
3to9in Installation section.For instance, you can see Account =
account_name, Dataset =dataset_namewith the URL above.The URL structure of Force SDK URL:
https://ACCOUNT.SERVER.evergage.com/beacon/ACCOUNT/DATASET/scripts/evergage.jsex. https://account_name.australia-3.evergage.com/beacon/dataset_name/demo/scripts/evergage.js
ACCOUNT = account_name
SERVER = australia-3
DATASET = dataset_name
After enabling
INJECT SDKandVISUAL EDITOR, the page is automatically reloaded.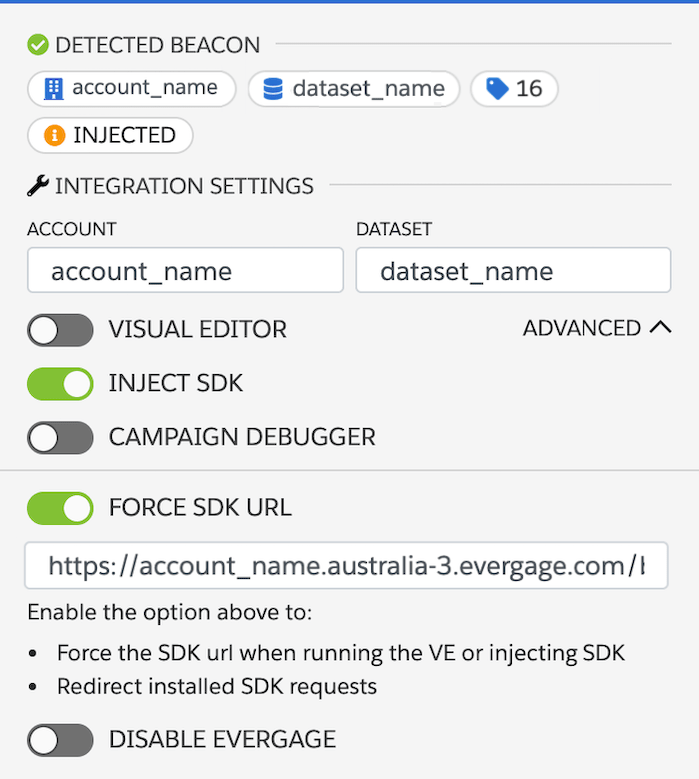
*If the page is froze while it is loading, try to reload the page and re-enable the items above. Also, please make it sure that you are logged into Interaction Studio.Visual Editor UI appears on the right bottom of the page.
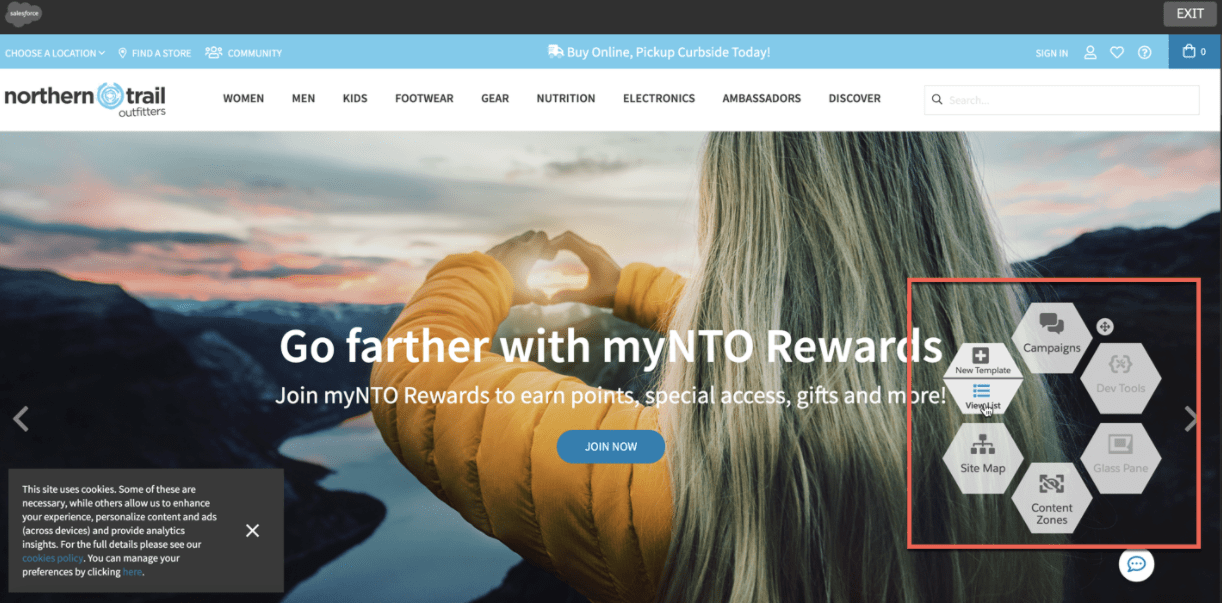
Click
View ListinTemplate.Confirm the name of the imported template is on the page. Then, click
CAMPAIGN FROM TEMPLATE
*If the imported template name is not shown, please check the configuration on5and6again.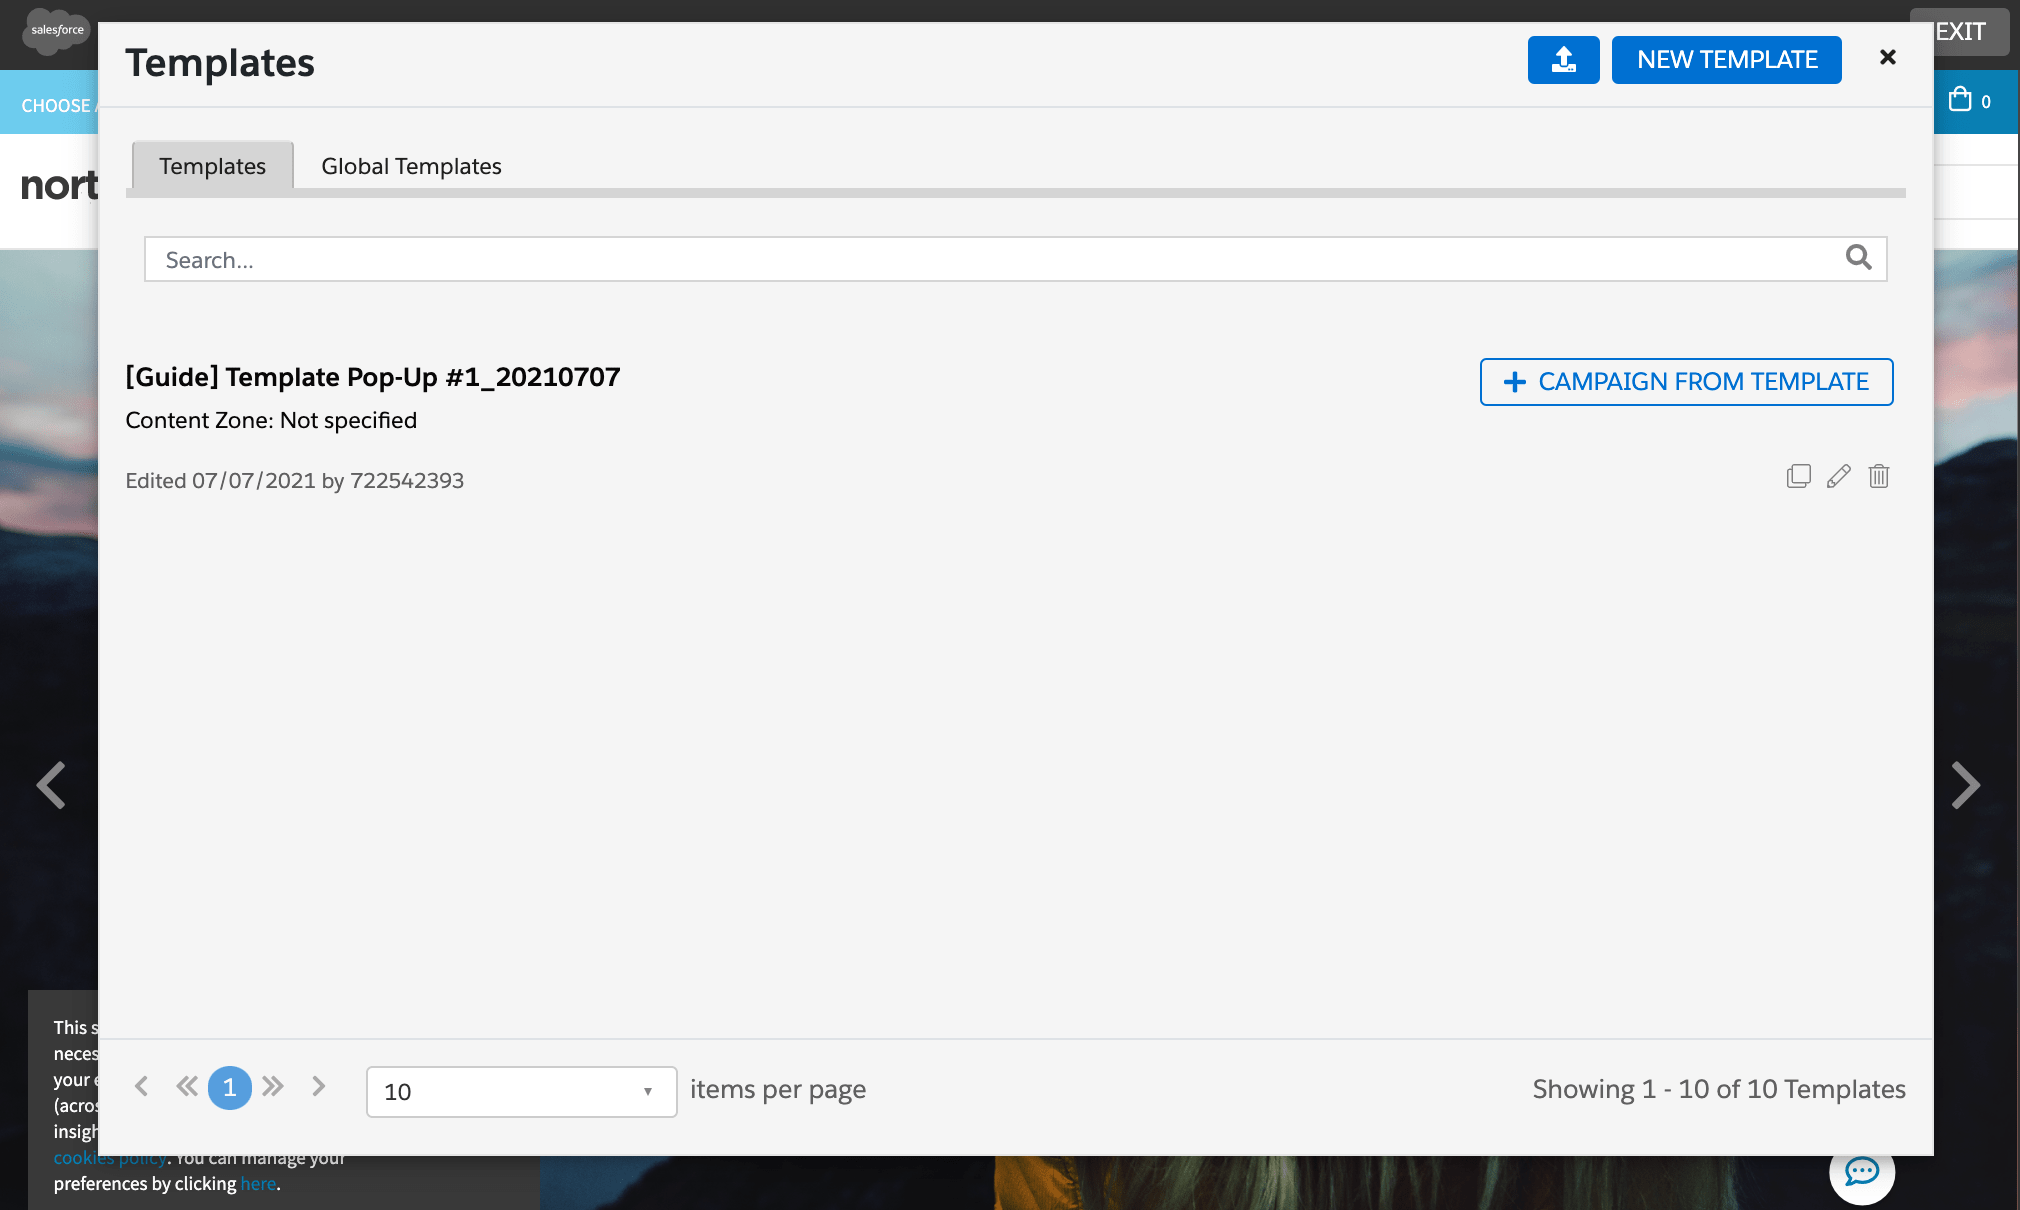
Confirm that you can edit the styles and the content from the side bar.
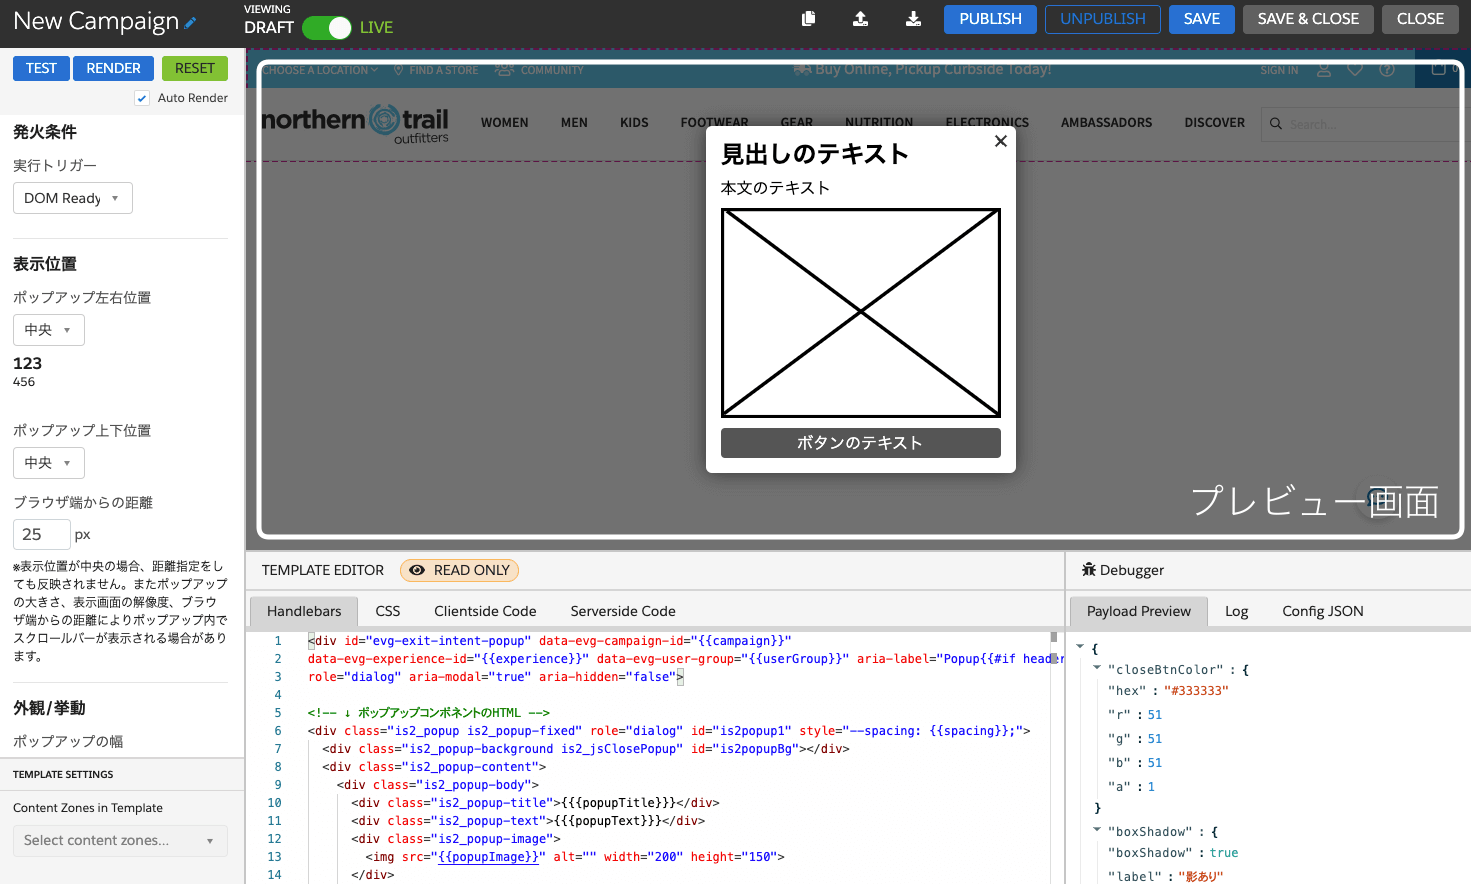
*If the content does not match with the values set on the side bar, uncheck on
Auto Render. After editting the content, clickRender. Then, the values should be applied on the preview screen on the right or the page fromTEST.